www.makeuseof.com How to Take a Screenshot on Chromebook With the Snipping Tool
Want to learn how to capture screenshots on your new Chromebook? Here's what you need to know about the snipping tool.
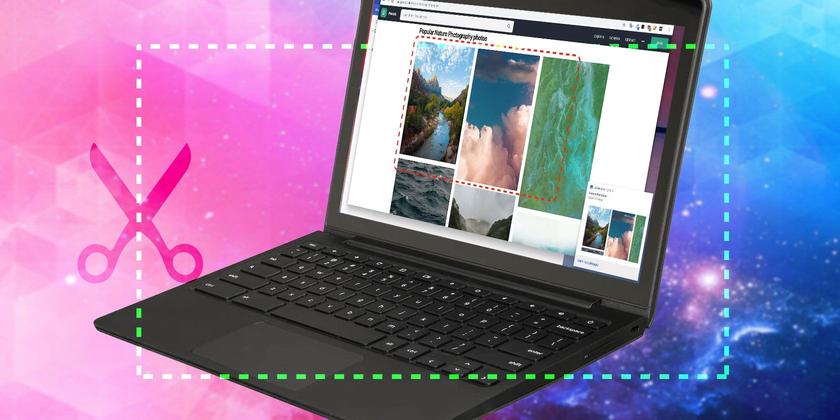
Want to take screenshots on your Chromebook efficiently? Luckily, the snipping tool in Chrome OS allows you to take a partial screenshot of your Chromebook’s screen, which saves the job of having to crop it later using an image editor.
In this guide on the snipping tool for Chrome, we’ll show you how you can take full-screen grabs on your Chromebook, along with a guide on taking partial screenshots and window snips as well.
The Chromebook Snipping Tool
To bring up the snipping tool in Chrome OS, press Shift + Ctrl + Show Windows. The Show Windows key is the one with a stack of rectangles on it, representing a bunch of windows. It is usually the 5th or 6th key in the top row, positioned between the Full Screen and Brightness Down keys. Some keyboards might have the F5 key instead of Show Windows.
Once you press the keyboard shortcut, the screen will dim slightly and the mouse cursor arrow will turn into a crosshair icon for the snipping tool. A screen grab/record toolbar will also appear at the bottom of the screen, with the partial screen grab icon selected.
Click and drag the crosshair over the area of the screen that you want to grab. As soon as you release the button, the snipped screenshot will appear in a preview window at the bottom right corner of the screen.

By default, the screenshot is saved in the Downloads folder. To view it, click on the preview window and then double-click on the highlighted file to open it.
Related: The Ultimate How-To Guide for Chromebook Users
MAKEUSEOF VIDEO OF THE DAYScreenshot a Particular Window
It is also possible to take a screenshot of a specific window in Chrome OS. To do so, press Ctrl + Alt + Show Windows for the snipping tool on your Chromebook.
Again, the mouse cursor arrow will change into a crosshair and the screen grab/record toolbar will appear, with the window grab icon selected.
As you hover the mouse pointer over a window, it will show brighter. Click on the window you want to capture and the snipping tool will automatically take a screenshot for you.
Chrome OS Snipping Tool Shortcuts
In summary, here are the keyboard shortcuts for taking screenshots in Chrome OS, including one to grab the entire screen:
| Action | Key Combination |
|---|---|
| Specific Area Snip | Shift + Ctrl + Show Windows |
| Particular Window Screenshot | Ctrl + Alt + Show Windows |
| Full Window Snip | Ctrl + Show Windows |
There are lots of other handy Chrome OS keyboard shortcuts available to make your Chromebook experience faster than ever.
Capturing Screenshots on Chrome OS
You now know how to use the snipping tool in Chrome OS to take screenshots of selected areas and individual windows, as well as the full screen. As mentioned above, the Downloads folder contains the screenshots in the form of PNG files with a timestamped name. You can save them to a USB drive or share them via the usual methods of data transfer.
If you're new to Chrome OS, the unique interface and Android-like workflow might seem daunting to you at first. Getting practical with your new Chromebook device is the best way to learn more about it.
21 Essential Tips for First-Time Chromebook Users Read NextShareTweetShareEmail Related TopicsAbout The AuthorPhil King(31 Articles Published)Phil is the Junior Editor for DIY projects at MUO and a freelance writer and editor with 20+ years of experience. He has edited numerous official Raspberry Pi books and is a regular contributor to The MagPi magazine.
MoreFrom Phil KingSubscribe to our newsletter
Join our newsletter for tech tips, reviews, free ebooks, and exclusive deals!
Click here to subscribe