How To Create & Save Multiple Maps On Your Roborock Robot Vacuum
Robot vacuums have come a long way in the past few years. They can recognize obstacles and avoid them, map out your home to ensure it cleans everywhere, just to name a few things. But they still cannot go up or down stairs on their own. That likely is still quite a ways away though. Fortunately, Roborock robot vacuums are able to store multiple maps, and today, we’re going to show you how to create and save multiple maps on your Roborock robot vacuum.
Now in this example, we will be using the Roborock S7, however most of the newer Roborock vacuums do support multiple floors. So the method will be very similar on other models too.
How To Create & Save Multiple Map
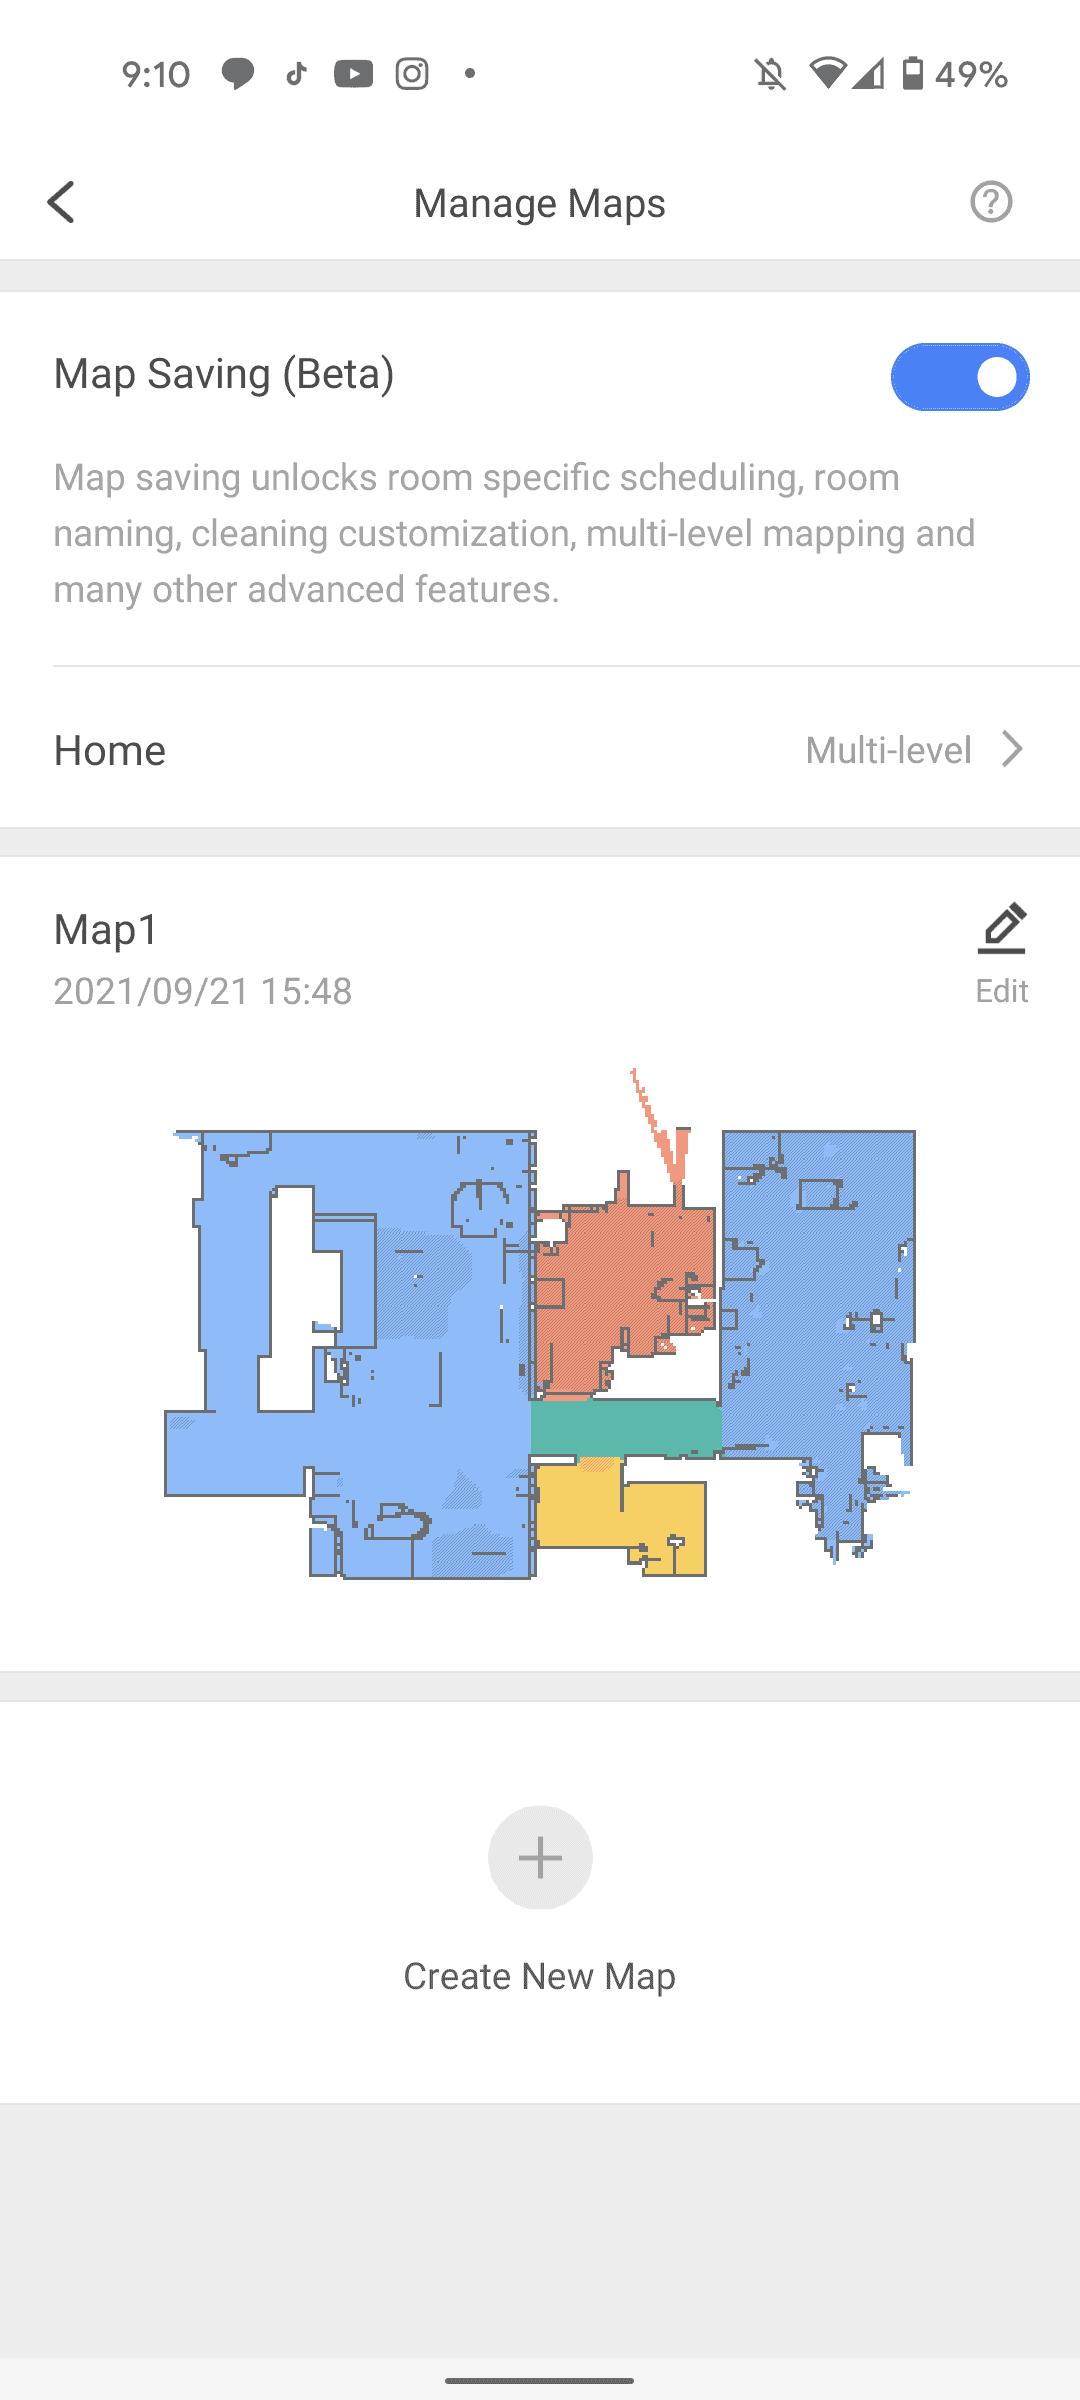
To get started, you’ll want to make sure that Map Save mode is enabled in the settings.
Advertisement
Next, you’re going to need to turn your home into a “multi-level”. By default it is a “single-level” home, so it only saves one map or floorplan. To do this, do the following:
Now, put the robot vacuum on a different floor.
AdvertisementNext, scroll to the bottom of the screen and tap on “Create New Map”.
This will create a new map, and the vacuum will start to clean as well. Which is why you need to put it onto another floor (like your second floor, or basement, etc). It will now map out that new floor plan.
AdvertisementYou can create up to four floorplans or maps with your robot vacuum. Which should cover most homes.
And that’s it. That’s how you create multiple maps for your Roborock robot vacuum to use in your home. It will be able to automatically detect which floor it is on, as well.