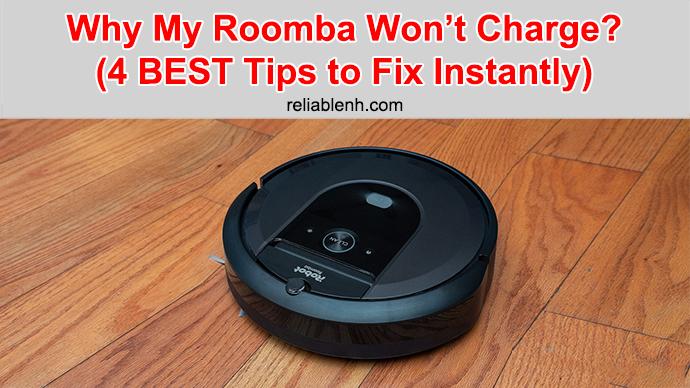
Why won’t my Roomba charge? Tips to fix your robot vacuum
iRobot’s Roomba devices are the original robot vacuums, but these days, there are dozens of different brands and models of robot vacuums. Some can be very affordable, but do-it-all bots that sweep and mop can be expensive, so when something goes wrong, it can be frustrating. A common problem is when your robot vacuum won’t charge. Fortunately, this is often an easy fix.
ContentsWhy won’t my robot vacuum charge? Tips to fix it
These tips will work for almost any robot vacuum or robot mop, so if your Roborock vacuum isn’t charging or your Neato robot vacuum won’t run, you can try these universal fixes.
Common reasons a robot vacuum won’t charge
There are two very common reasons a robot vacuum may not be charging, and the first is the simplest: Check the plug.

Are the plugs seated correctly?
There’s s good chance your Roomba has come unplugged, and it can even be the vacuum itself that’s responsible, since repeated nudging of the base station can result in a disconnection or loose connection, either where the plug meets the base of the charging platform or at the wall. Of course, someone could have unplugged the charging station if the plug was needed for something else, too. So, a quick check to make sure all the power cables are securely connected can save you a world of time and troubleshooting.
If all that’s good, do yourself a favor and unplug then plug the bot back in. Yes, we all hate it when the IT person tells us to unplug it and plug it back in again, but that’s the most common and easy fix for some power problems since it creates a simple reset of the electrical system.
If you see the lights come on or your bot starts talking when you reconnect power, you’ll know you’ve got juice.
Is the robot in contact with the charging nibs?
Next up, ensure the robot is seated properly on the charging base. Each robot vacuum has metal connectors, usually on the underside or front, which contact each other, and that connection transmits the charge.
For the most part, your bot knows exactly how to dock itself to line up those charging pins, but any number of things can knock them out of alignment — pets playing ball, kids horsing around, a carelessly tossed bag, you name it. If the vacuum disconnects, it will slowly lose all its power until the battery is depleted, meaning the next time it’s supposed to go clean, it will seem dead.
To check the connection, remove the robot from its base or dock and re-seat it. You should usually see lights or hear the bot say “charging” when it’s properly connected. Leave it for a few hours, then check the battery status, and hopefully you’ll be back in business.
Clean the sensors on the robot and the base station
If none of those other fixes helps you, it could be that some or all of your sensors have become dirty — not surprising if you think about it since the robot vacuum’s job is to get the dirt off your floors. Often, dirt, dust, and muck can accumulate over time, hampering the sensors’ ability to conduct electricity.Remove your bot from the charging dock, turn it over, and wipe all the metal connectors with a clean, damp cloth. While you’re down there, wipe all the cliff sensors and room detection sensors, too — they look like little tinted windows. Then, do the same with the sensors and charging nibs on the base station. Make sure everything is dry before you reunite the robot vacuum and dock, and, as above, make sure it’s seated properly.
Do a factory reset
If all else fails, a factory reset may be in order. You’ll likely find instructions in your robot vacuum’s app, or you can Google your brand and model followed by “factory reset” to find instructions. This may wipe out some of your settings or schedules, so use this only as a last resort. If that still doesn’t have you up and running, it’s time to reach out to your robot vacuum’s manufacturer for professional help or servicing.